Whova App FAQ
- Where is the event agenda and how can I explore it?
- Where can I find out who else is attending the event?
- How can I find people with common backgrounds and interests as me?
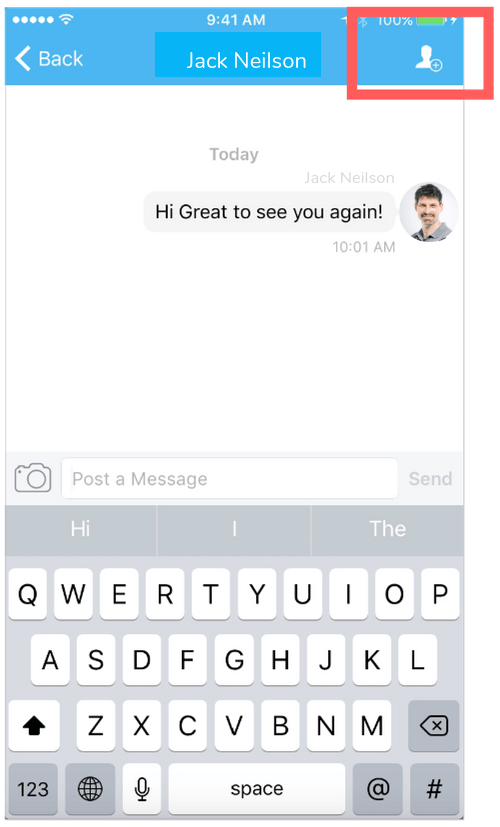
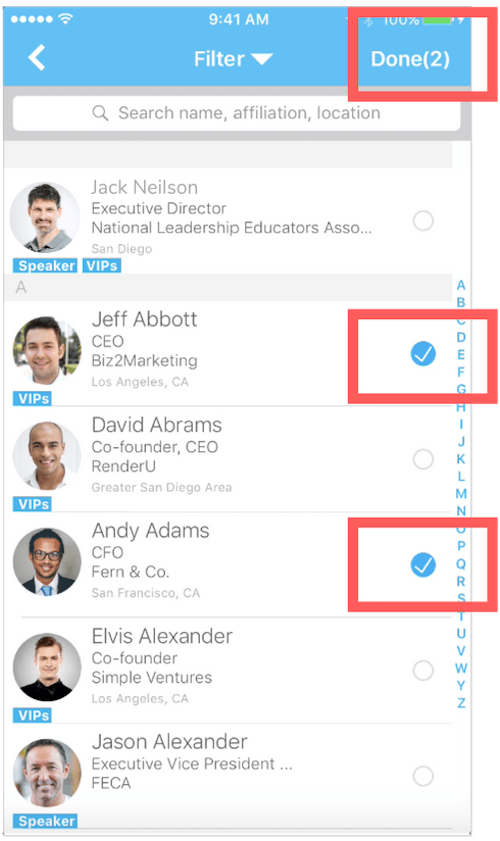
- How can I message one or a group of fellow attendee(s)?
- Where can I find logistics information (e.g. directions, floor maps, Wi-Fi password)?
- How can I edit my profile (e.g. photo, affiliation)?
- How can I change the app notification setting?
- I received an email about having a message in the app, but I can’t find the message. Where is it?
- How can I download my private notes from the app?
- How can I download documents (e.g. slides, handouts)?
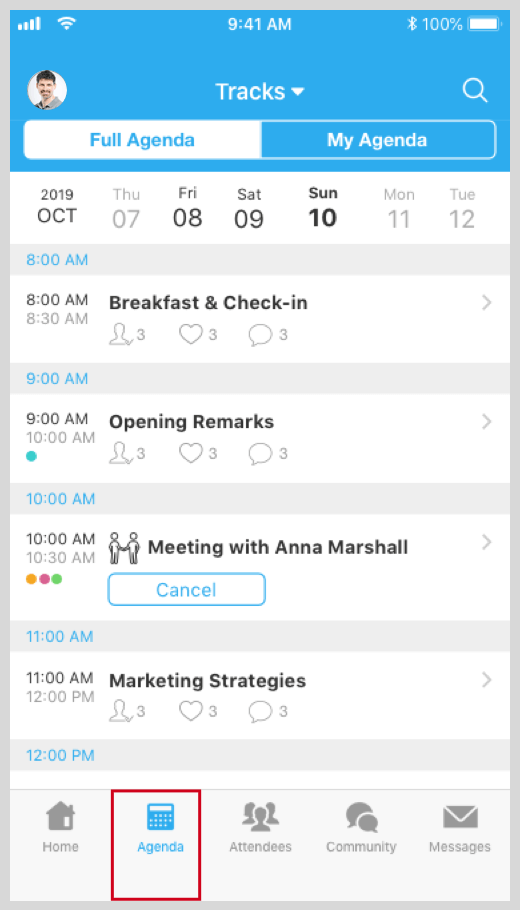
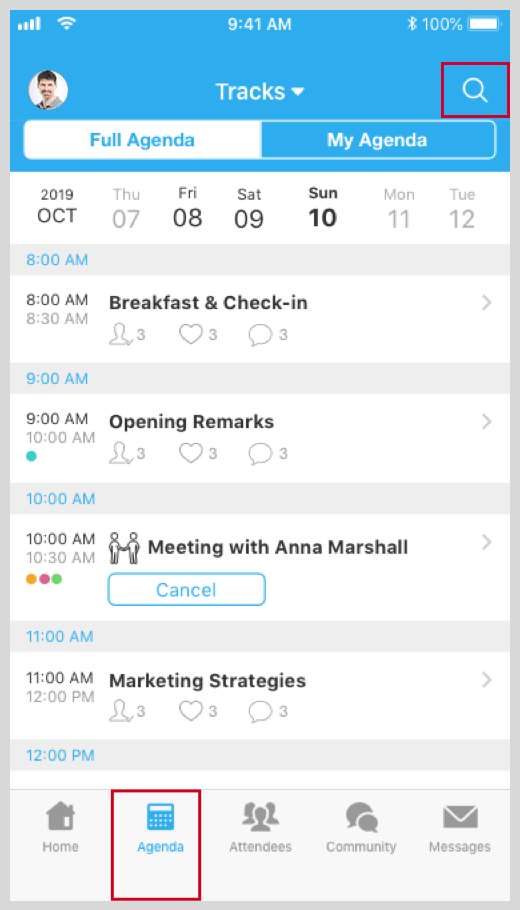
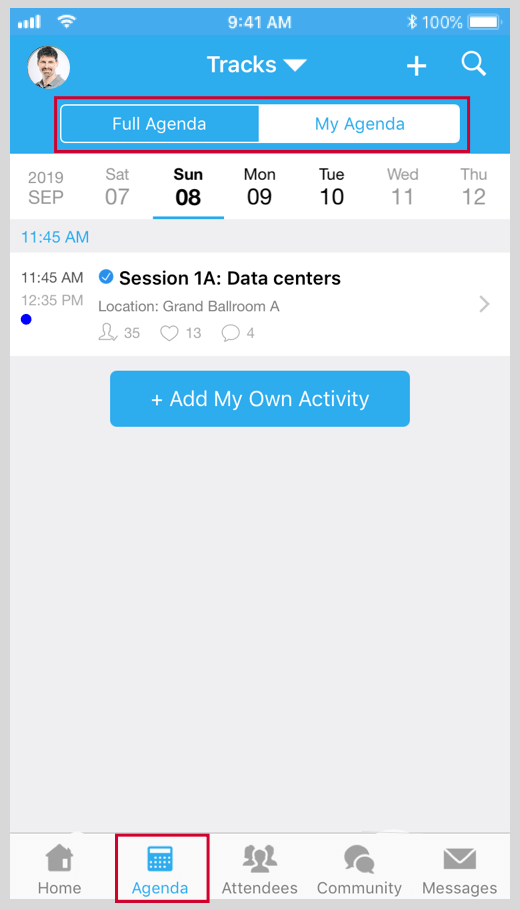
You can search for an individual session by keywords, including a session title, room, and a speaker name.
You can add the session into your own personal agenda and set a reminder. All the sessions saved are in My Agenda.
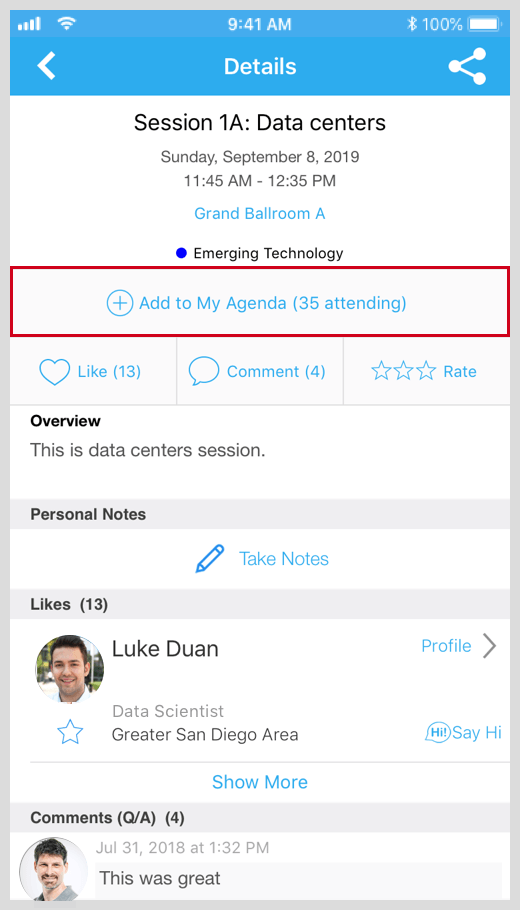
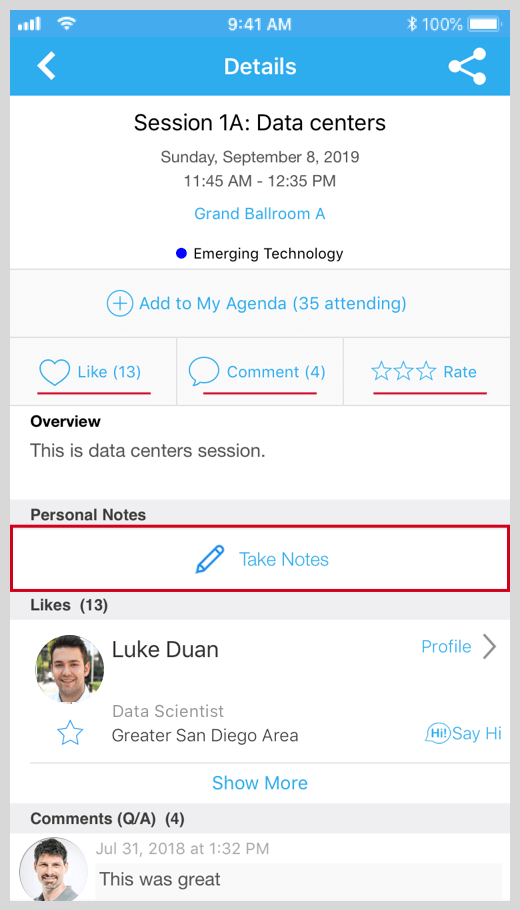
You can click Like, ask questions or leave comments, and rate the session. You can take down your personal notes too.
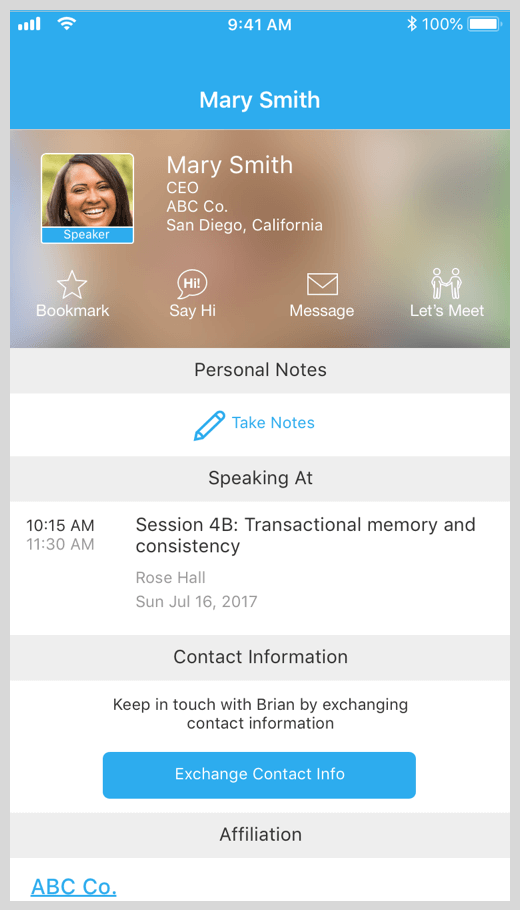
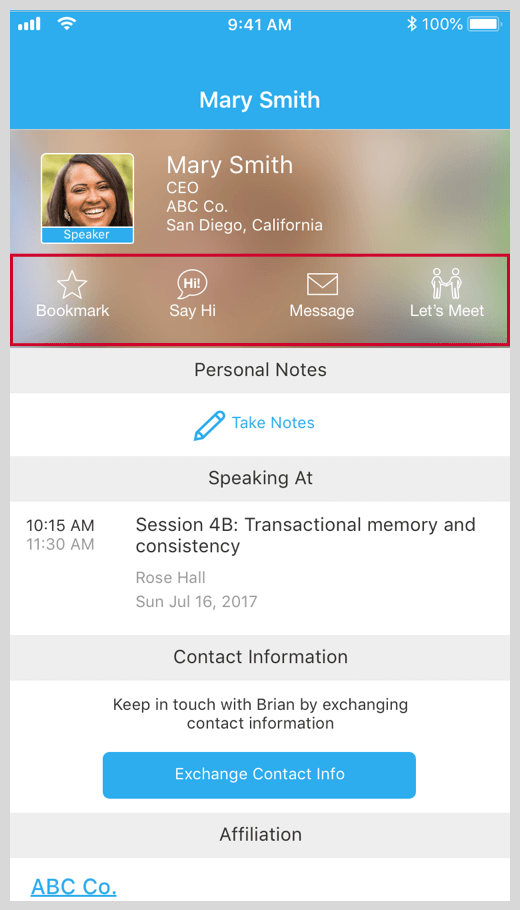
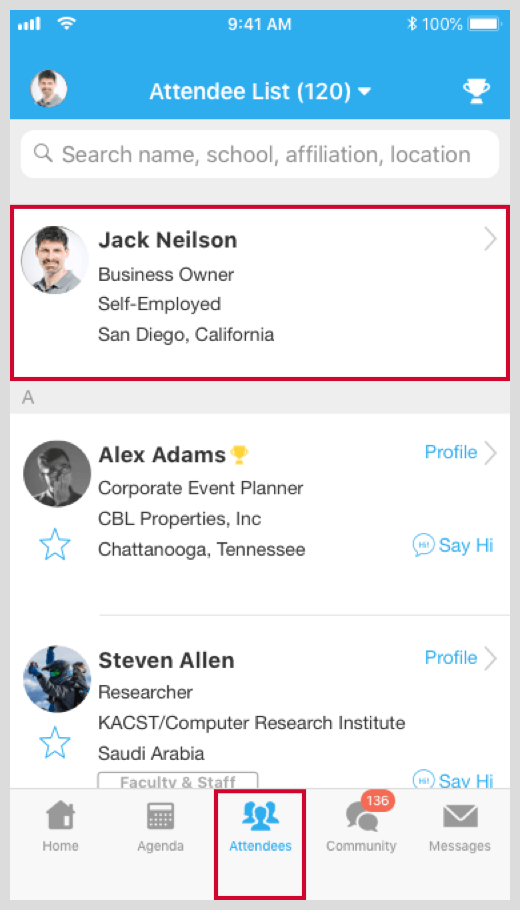
Click the “Attendee” tab on the bottom of the screen to browse the attendee list. At the top-right corner, you can search attendees by keywords such as company name or title. In their professional profiles, you can take notes or request contact information.
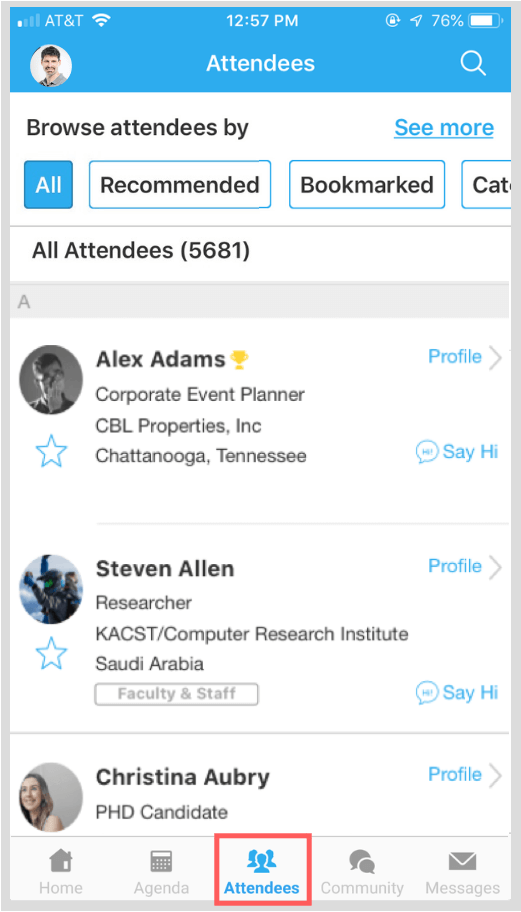
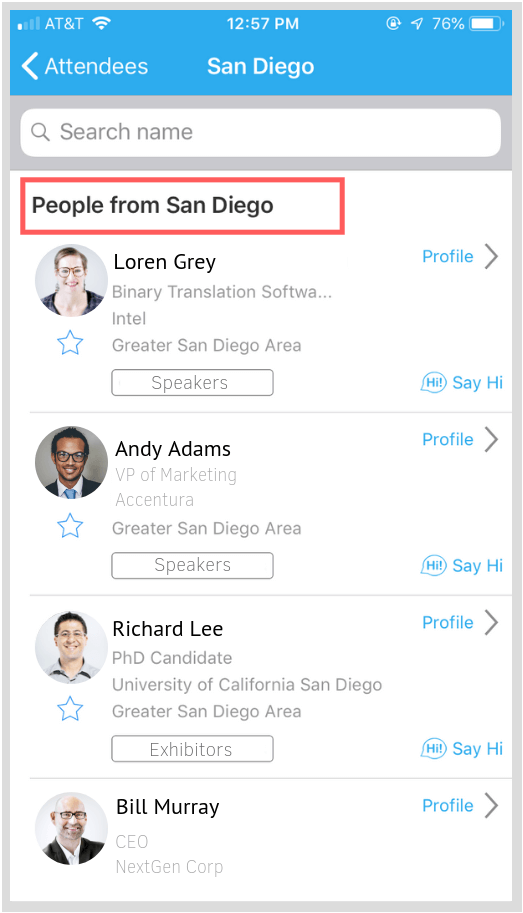
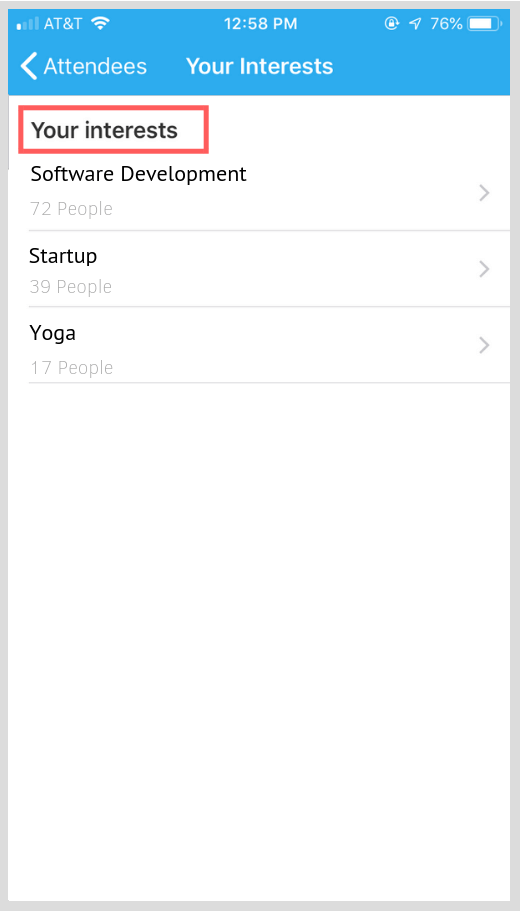
Click the “Recommended” tab on the top of the Attendees list to find Whova’s recommendations about people you may be interested in networking with. Click into each item to see attendees who came from the same city or have the same affiliations, educational background, or interests as you.
Make sure that your profile has enough information to match with other attendees. To edit your profile, click the pen icon in your profile preview.
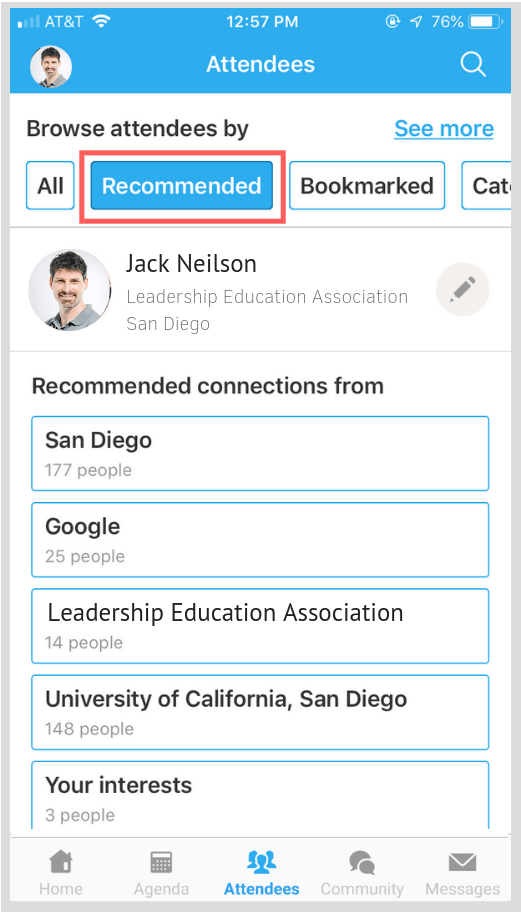
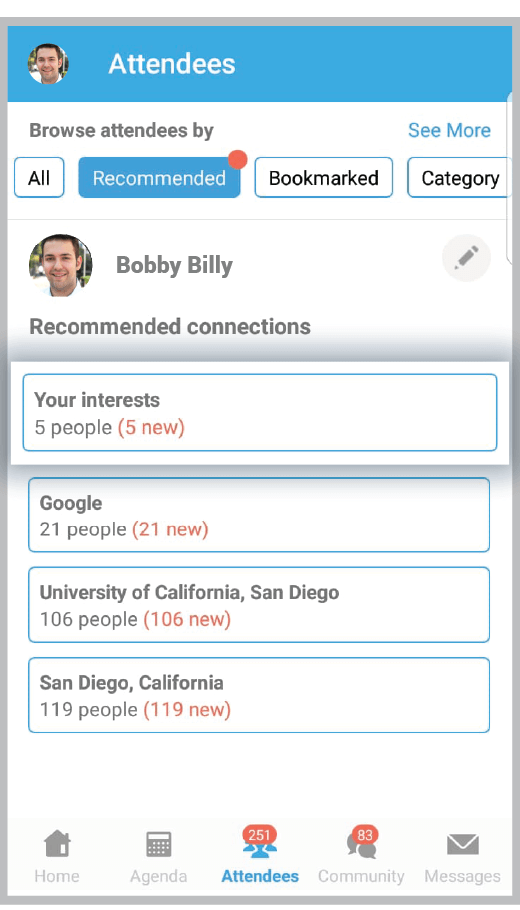
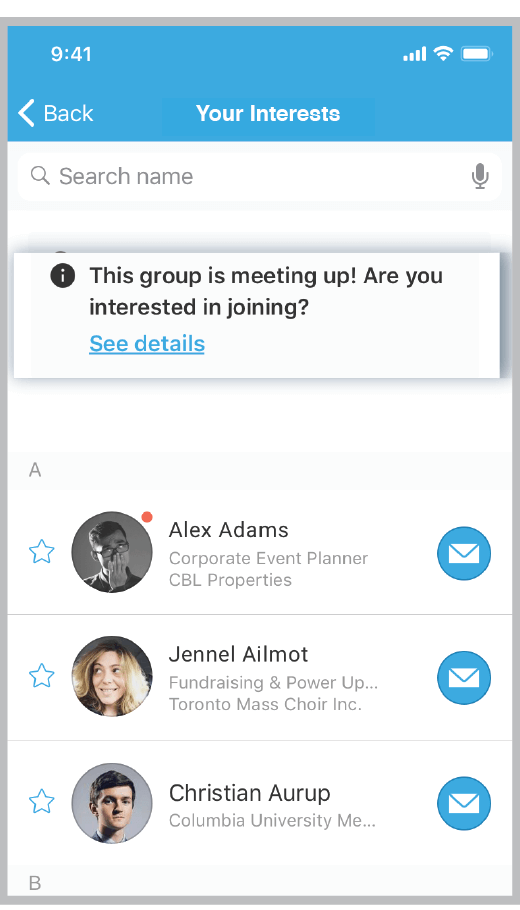
Click the “Recommended” button in the “Attendees” tab to view the groups of people that have been recommended to you.
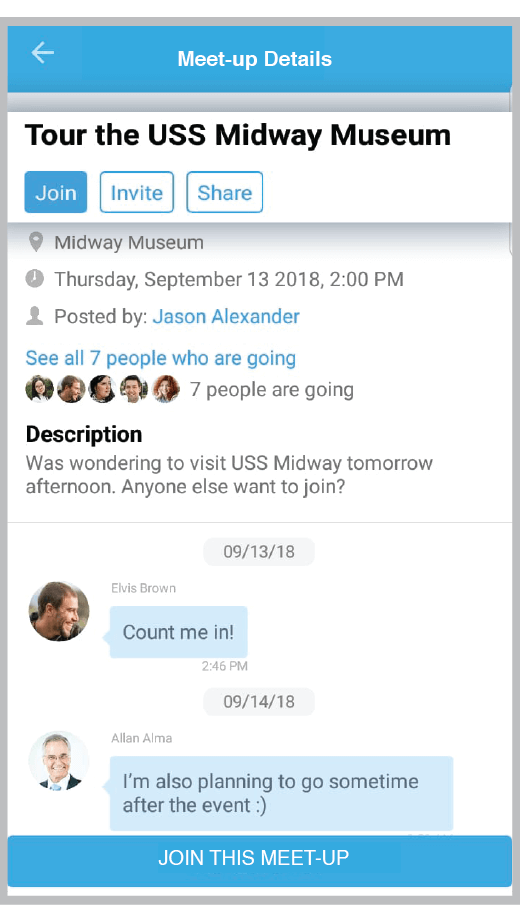
At the top of each group list, you will see a link to join or organize a Meet-up with the recommended attendees.
Click the link to go directly to the Meet-up page and view the details.

Logistics
1) Check Logistics Section
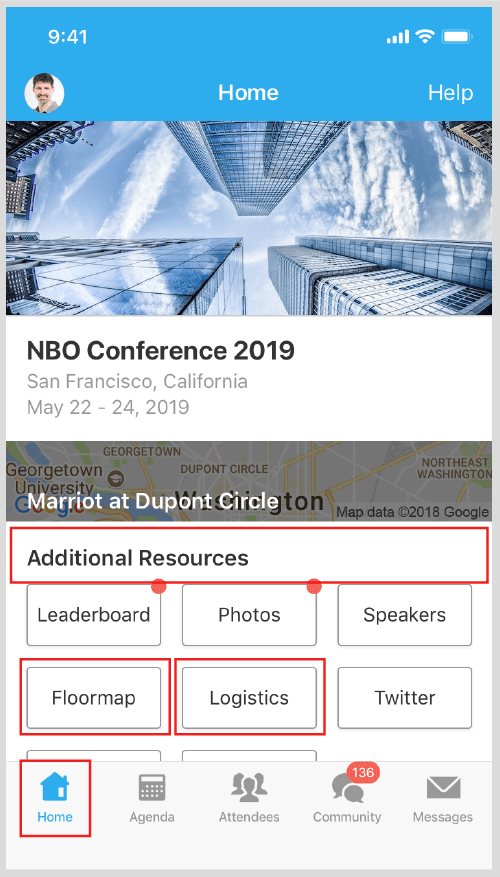
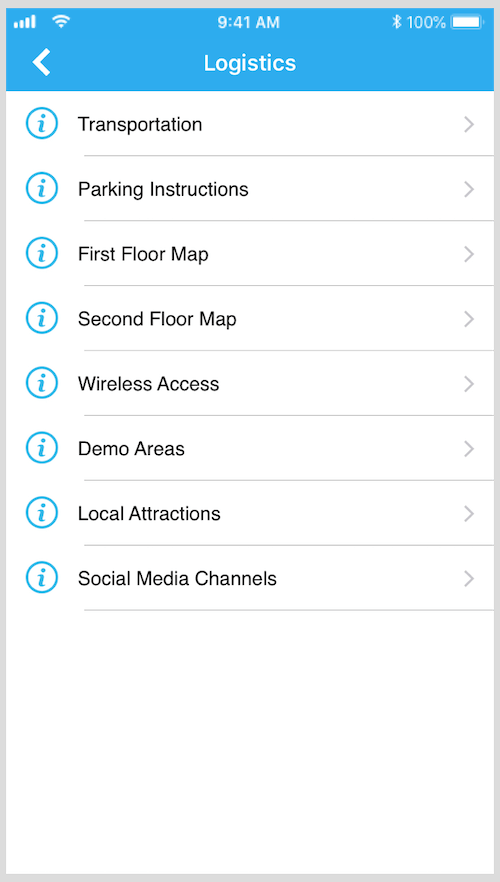
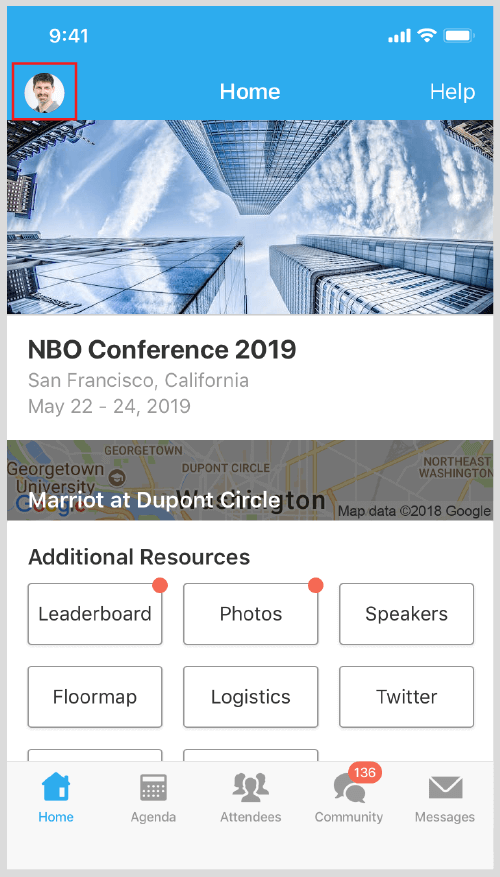
Organizers usually use it to share parking info, venue info, directions, Wi-Fi password, floor maps, etc. On the event “Home” you will find the “Additional Resources” section, which contains the “Logistics” button. You can also access the “Floormap” if your organizers set this up.
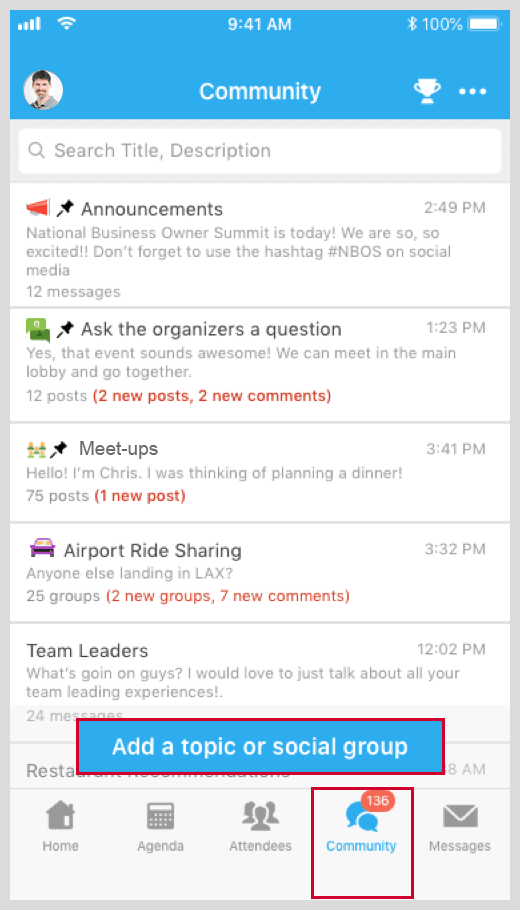
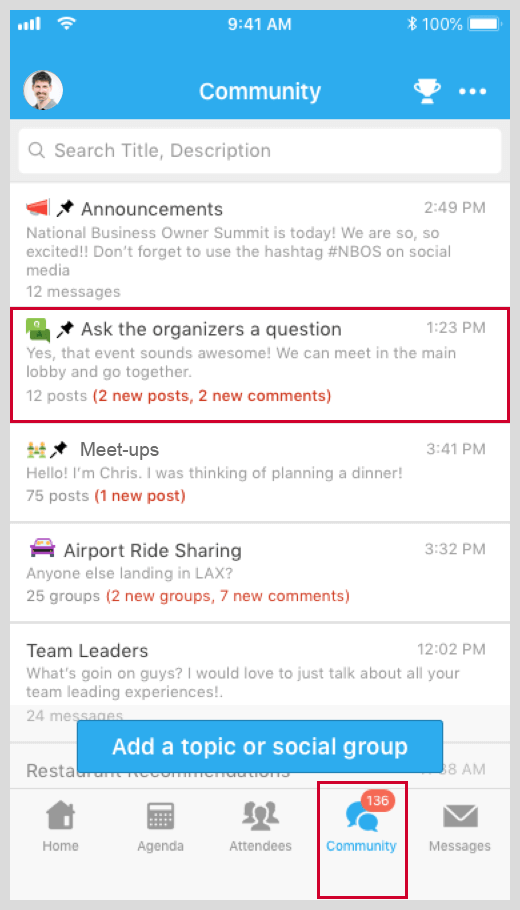
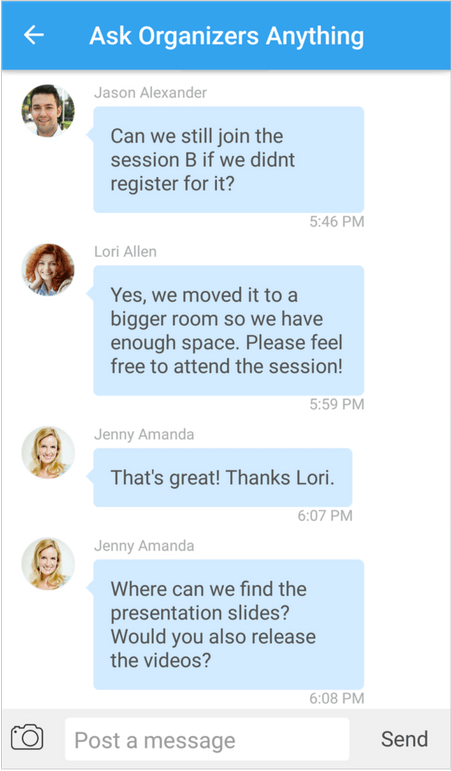
If you can’t find particular information in the Logistics section, go to the Community Board (click the “Community” tab on the bottom of the screen) and check the “Ask Organizers Anything” section. Post your question there, and either organizers or fellow attendees may help you.
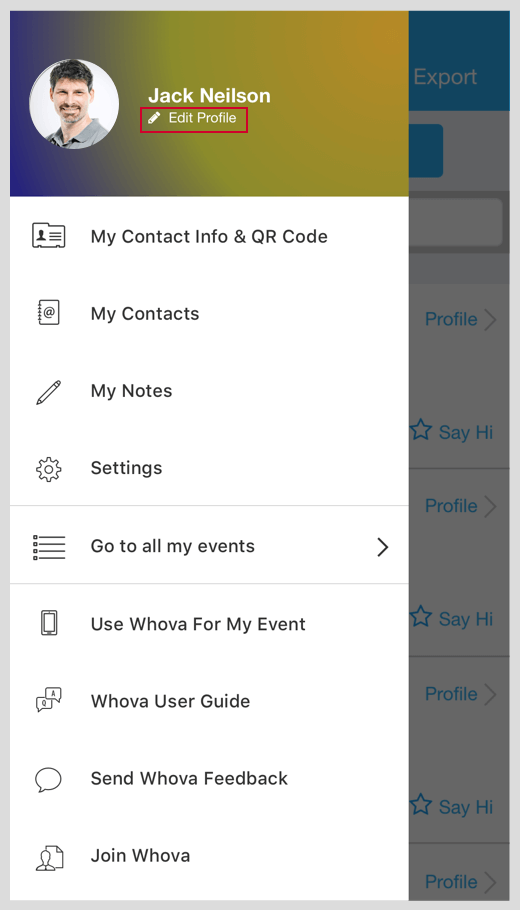
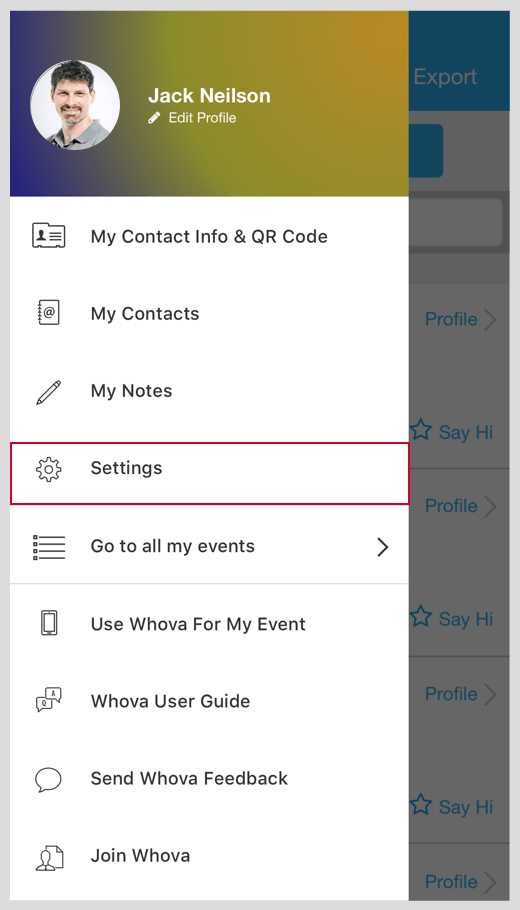
There are two ways to access your profile. Click your profile picture (or a default headshot image) at top-left corner of the event “Home.” Then, on the side menu, click “Edit Profile” which is under your name. Alternatively, you can find your profile at the very top of the Attendee list. In your profile, click “Edit My Profile”.
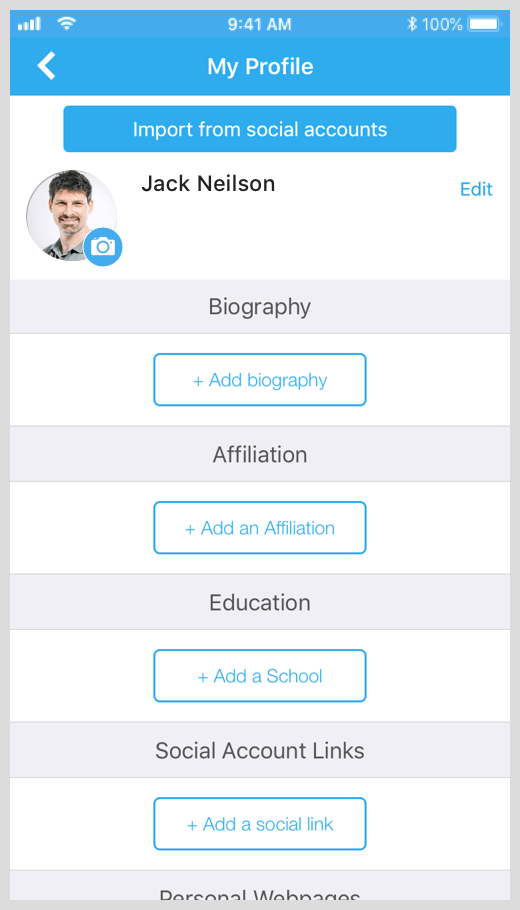
On your profile, you can change your photo by clicking it, and edit/remove any information through the “Edit” buttons. If you’d like to conveniently populate the profile, click “Import info from your social accounts” at the top of the screen.
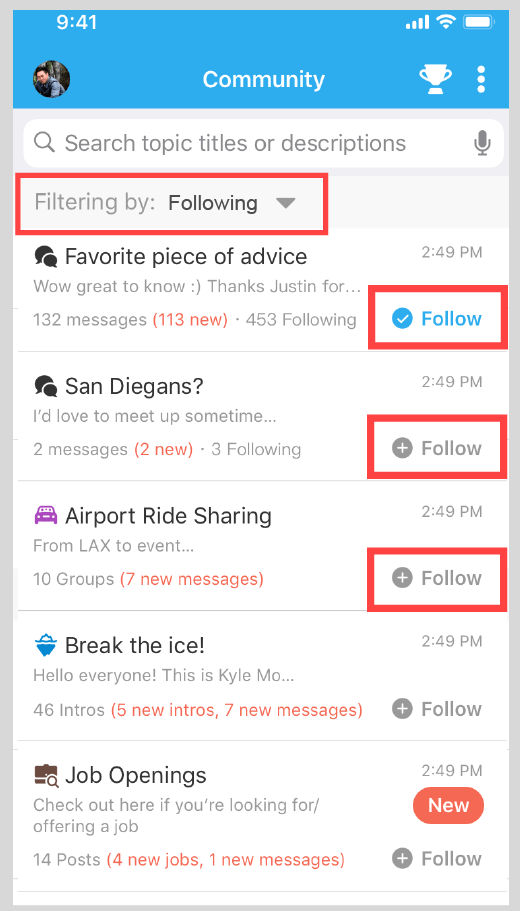
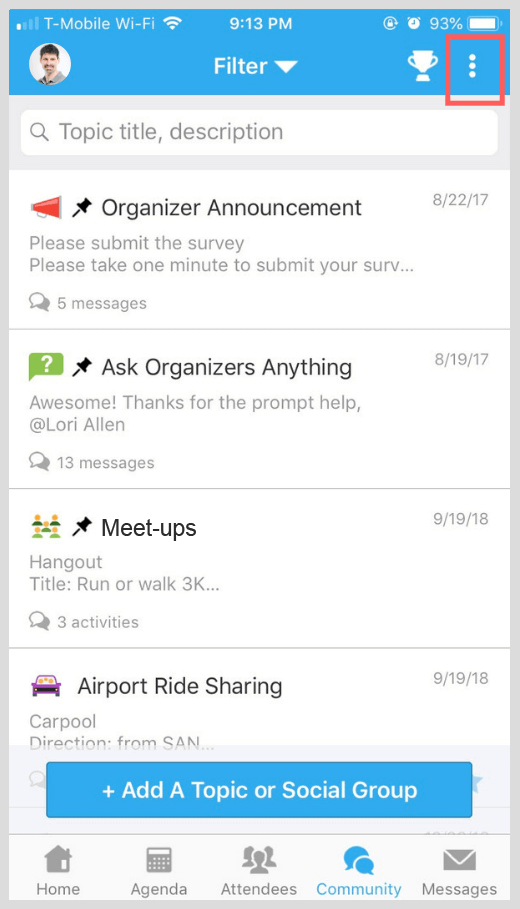
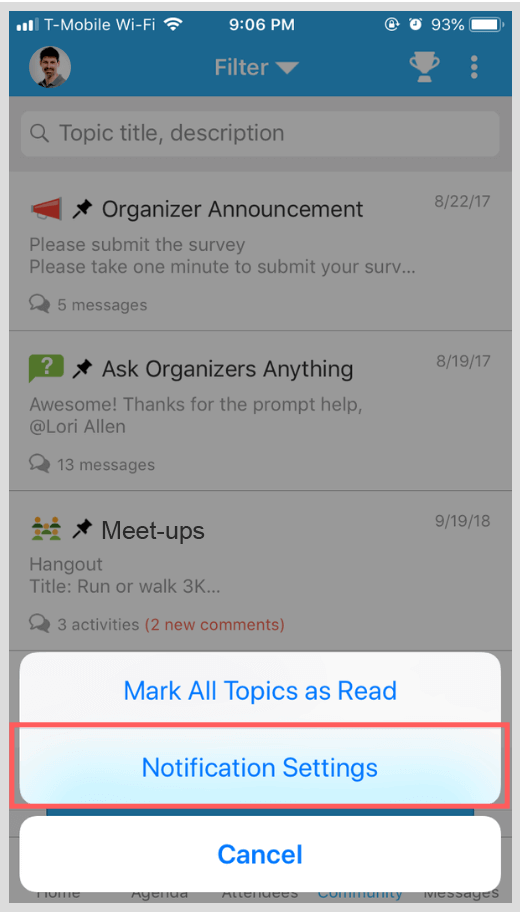
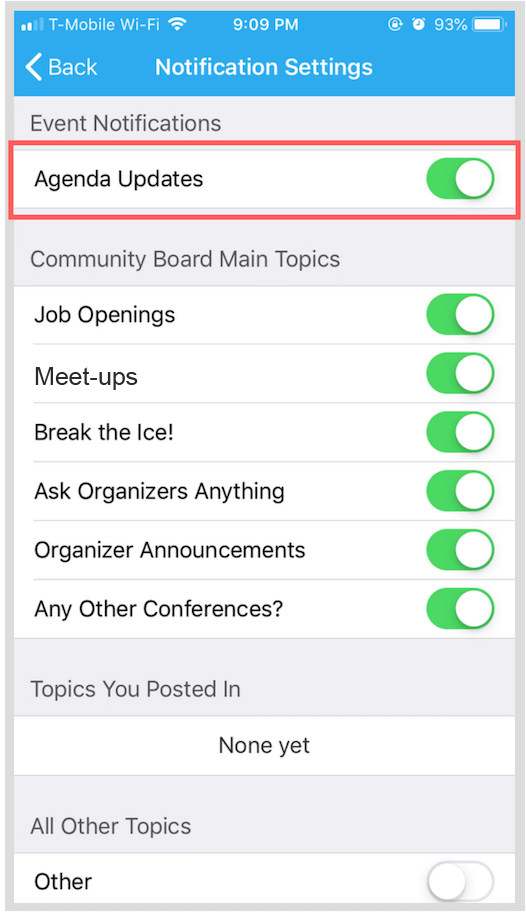
At top-right corner of the Community Board, click the vertical dots (settings) and find “Notification Settings”. Depending on your interests, you can enable notifications only from certain topics.
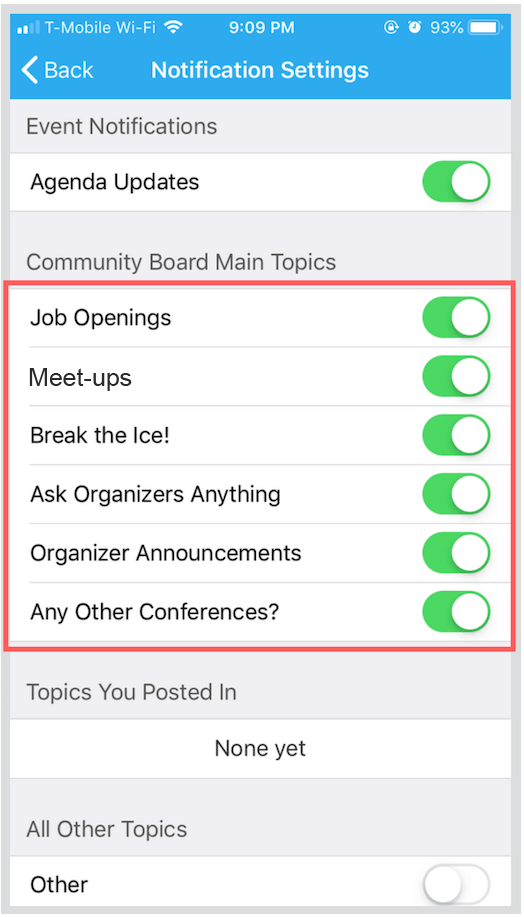
To receive agenda updates (e.g., time and location changes, session information updates), click your profile picture (or a default headshot image) at top-left corner of the event “Home.” Then, on the side menu, click “Settings” and find “Agenda Updates.”
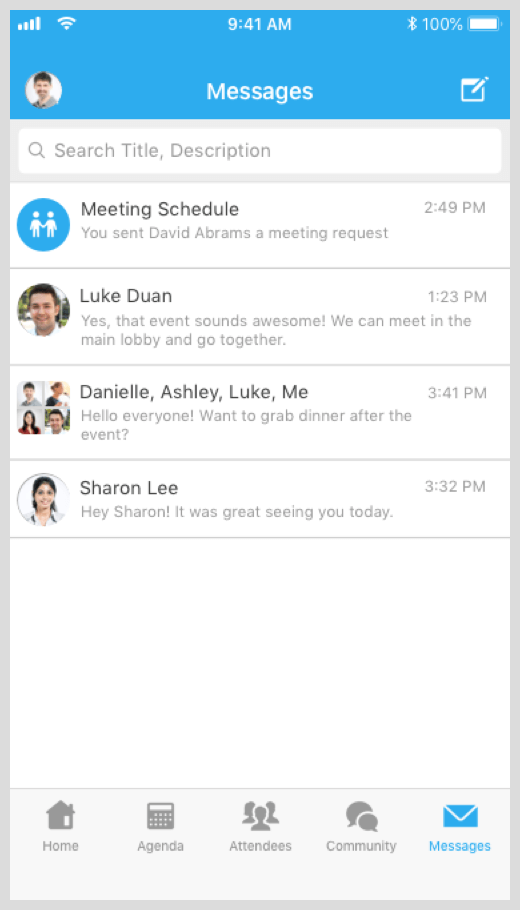
Messages Received
Click the “Messages” tab on the bottom of the screen to see a list of messages you received. If you received an email notification about a certain in-app message but you can’t find it, please make sure you have signed into the Whova app with the same email address the notification was sent to (that is the email address you used for the event registration).
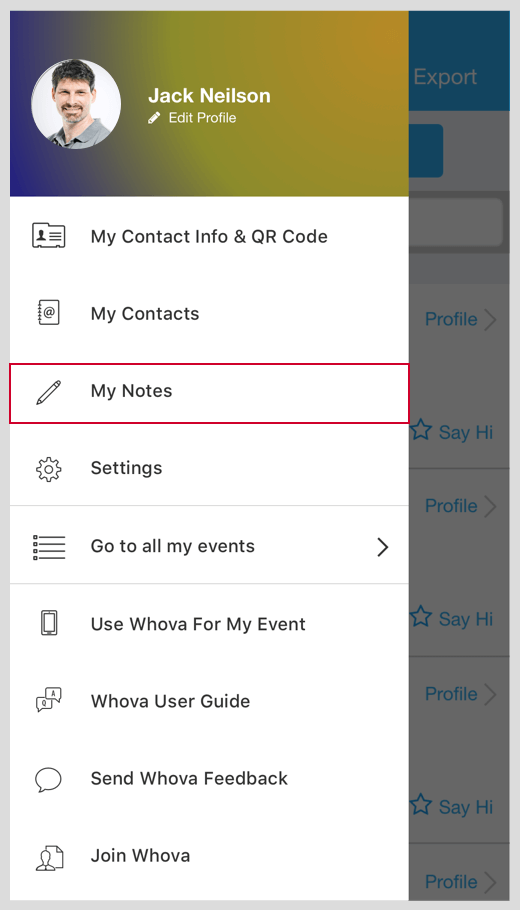
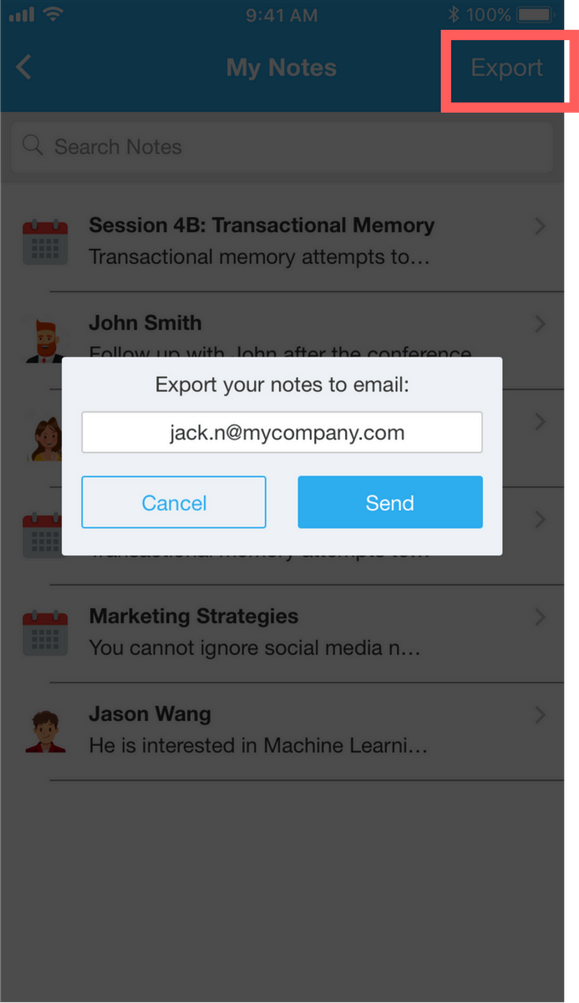
My Notes
You can write notes in Sessions and Attendee Profiles. If you’d like to export them, click your profile picture (or a default headshot image) at top-left corner of the event “Home.” Then, on the side menu, and click “My Notes.” On the right-top corner of the screen, click the “Export” button. The app will send all notes to your email.
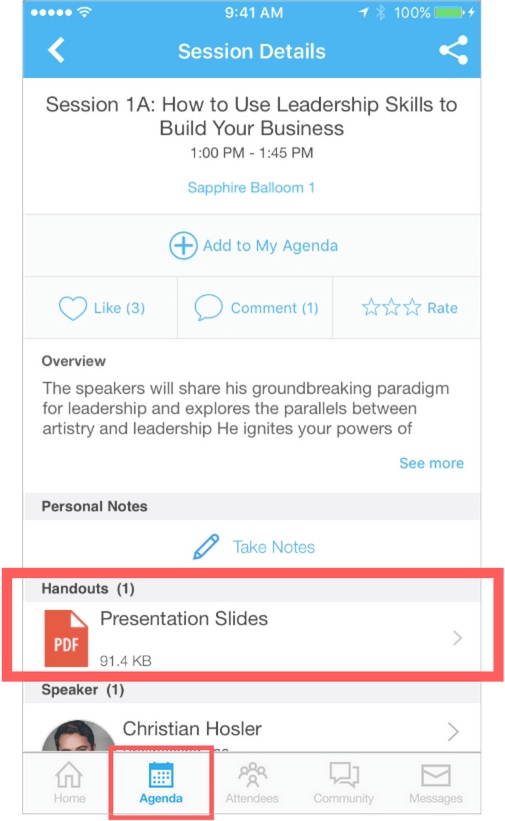
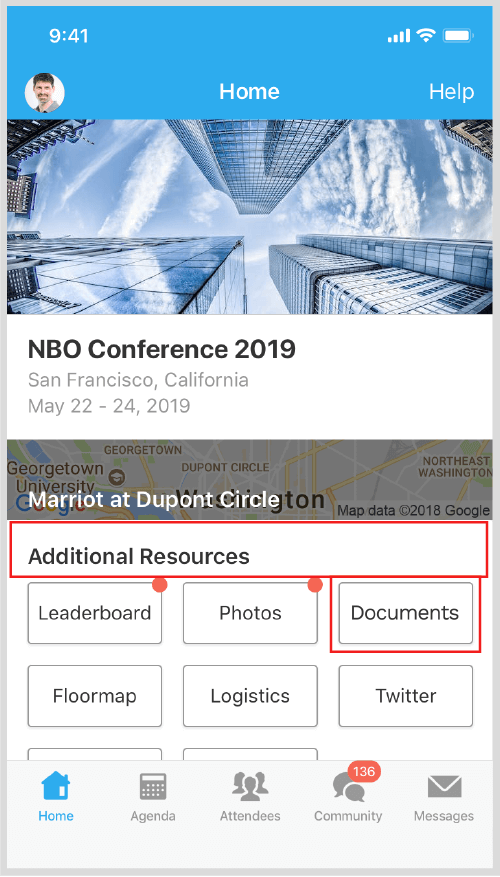
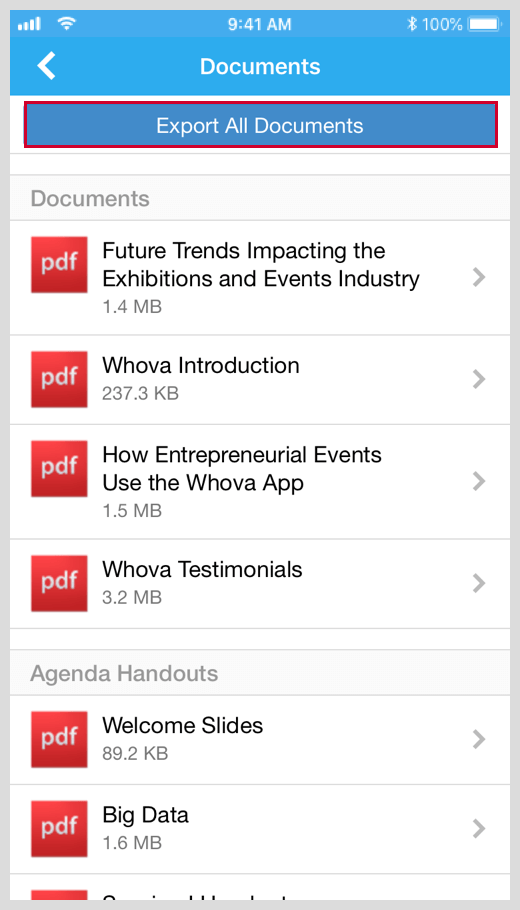
How to Download All Files at Once: Go to the “Documents” section (click here to see how to find the “Documents” section) and click “Export All Documents“. The app will send them to your email.