October 28, 2025
From speaker slide decks and training manuals to policy, research papers, compliance forms, brochures, and local logistics guides, almost every event comes with its own collection of documents to share with attendees and partners. Managing and uploading all these files is time-consuming, especially when you want to restrict access to registered participants.
Whova’s event app has helped thousands of organizers securely share documents and handouts with participants. Organizers can upload PDF and PowerPoint (PPTX) files directly to Whova, providing attendees with instant access to materials—whether they’re following along during a session, referencing a training manual, or downloading resources for later use. All documents are securely hosted and only accessible to registered participants through the Whova app.
To make things even easier, last year Whova integrated with Google Drive. This allows organizers to link their accounts and access files directly within Whova, eliminating the need to download materials to a computer and manually re-upload them. Simply import speaker presentations, reports, or other resources directly from your GDrive.
Now, we’re taking this capability even further. Whova is excited to announce our new SharePoint and OneDrive Integration! With this new addition, organizers who use these platforms can enjoy the same optimized workflow.
You too can upload documents such as…
- Academic papers and other session reading material
- Session slide decks
- Organizational brochures
- CEU handbooks
- Local logistics or travel information
Files can even be uploaded in bulk for maximum efficiency!
By integrating with SharePoint and OneDrive, Whova makes it simple to keep your event documents organized, accessible, and secure—all while saving time and reducing manual work.
Read on to learn how to set up these new integrations and simplify your document-sharing workflow.
Connect SharePoint and OneDrive to Upload Documents Directly to Sessions
To assign documents to a session, find the Agenda Center in the Content tab, and open the Session Manager. When adding or editing your sessions, scroll to the “Documents” section and select “Upload from cloud”. You’ll see options for Google Drive, SharePoint, and OneDrive.
Choose SharePoint if you need access to both organizational documents and your own files, and OneDrive if you’re working with just personal files.
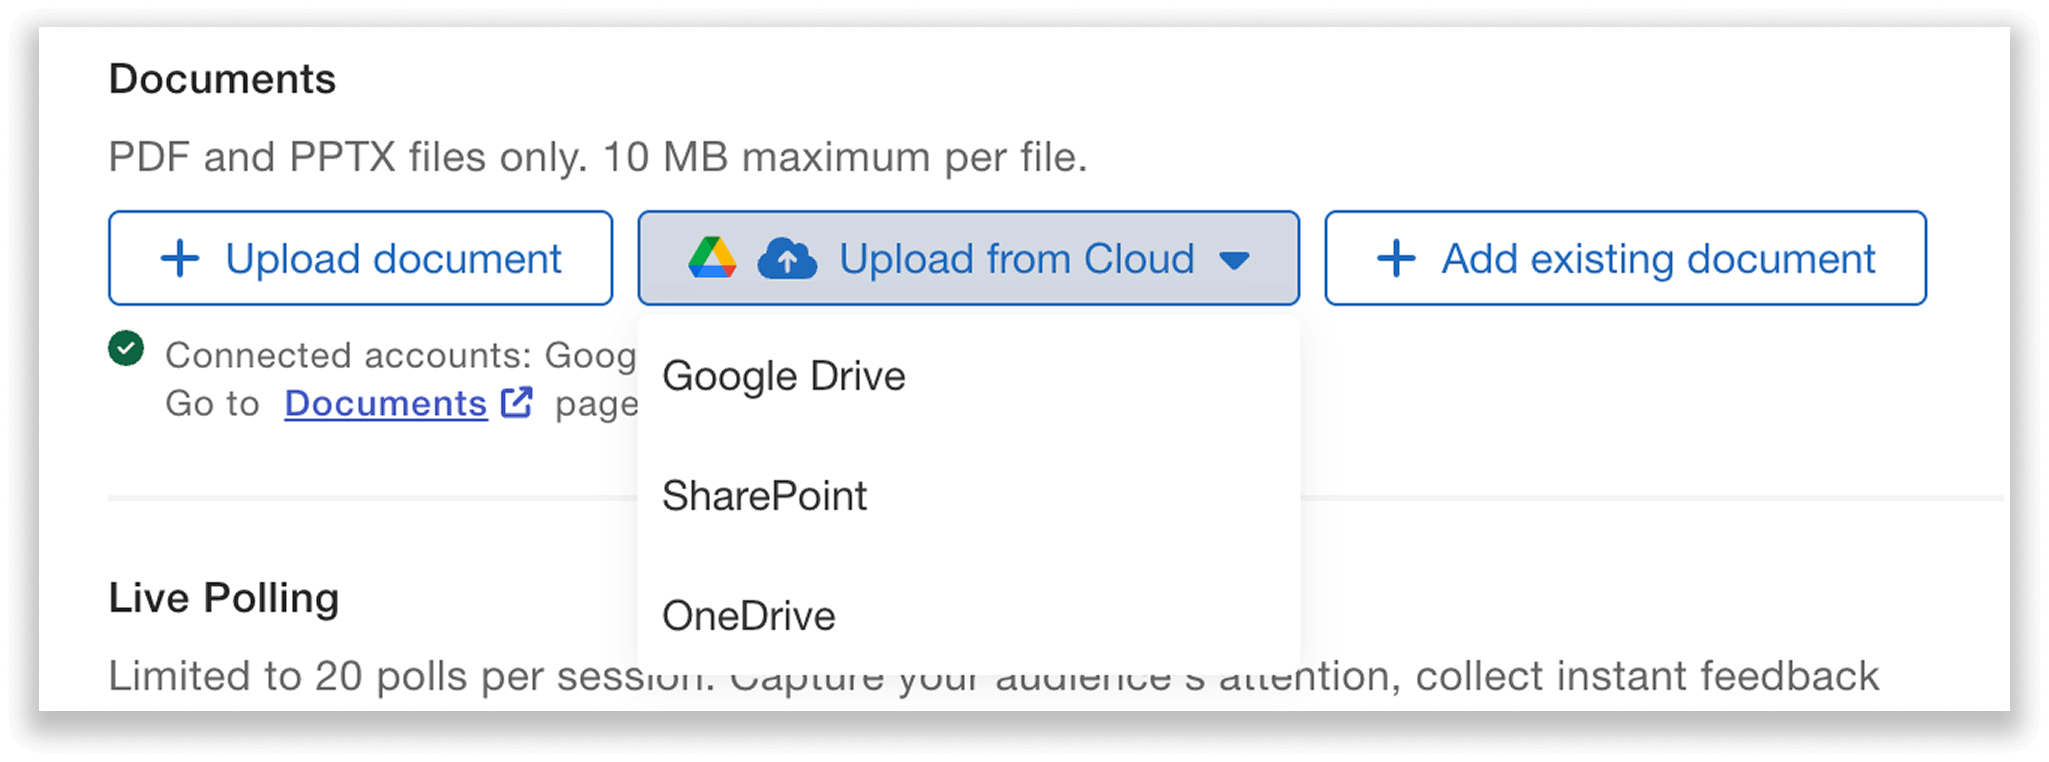
Upload from cloud: access your SharePoint and OneDrive files directly from Whova.
Connecting with SharePoint
If you select SharePoint, you’ll be prompted to connect your SharePoint account. Sign in to Microsoft, and grant Whova permission to access the information. This will also connect your OneDrive.
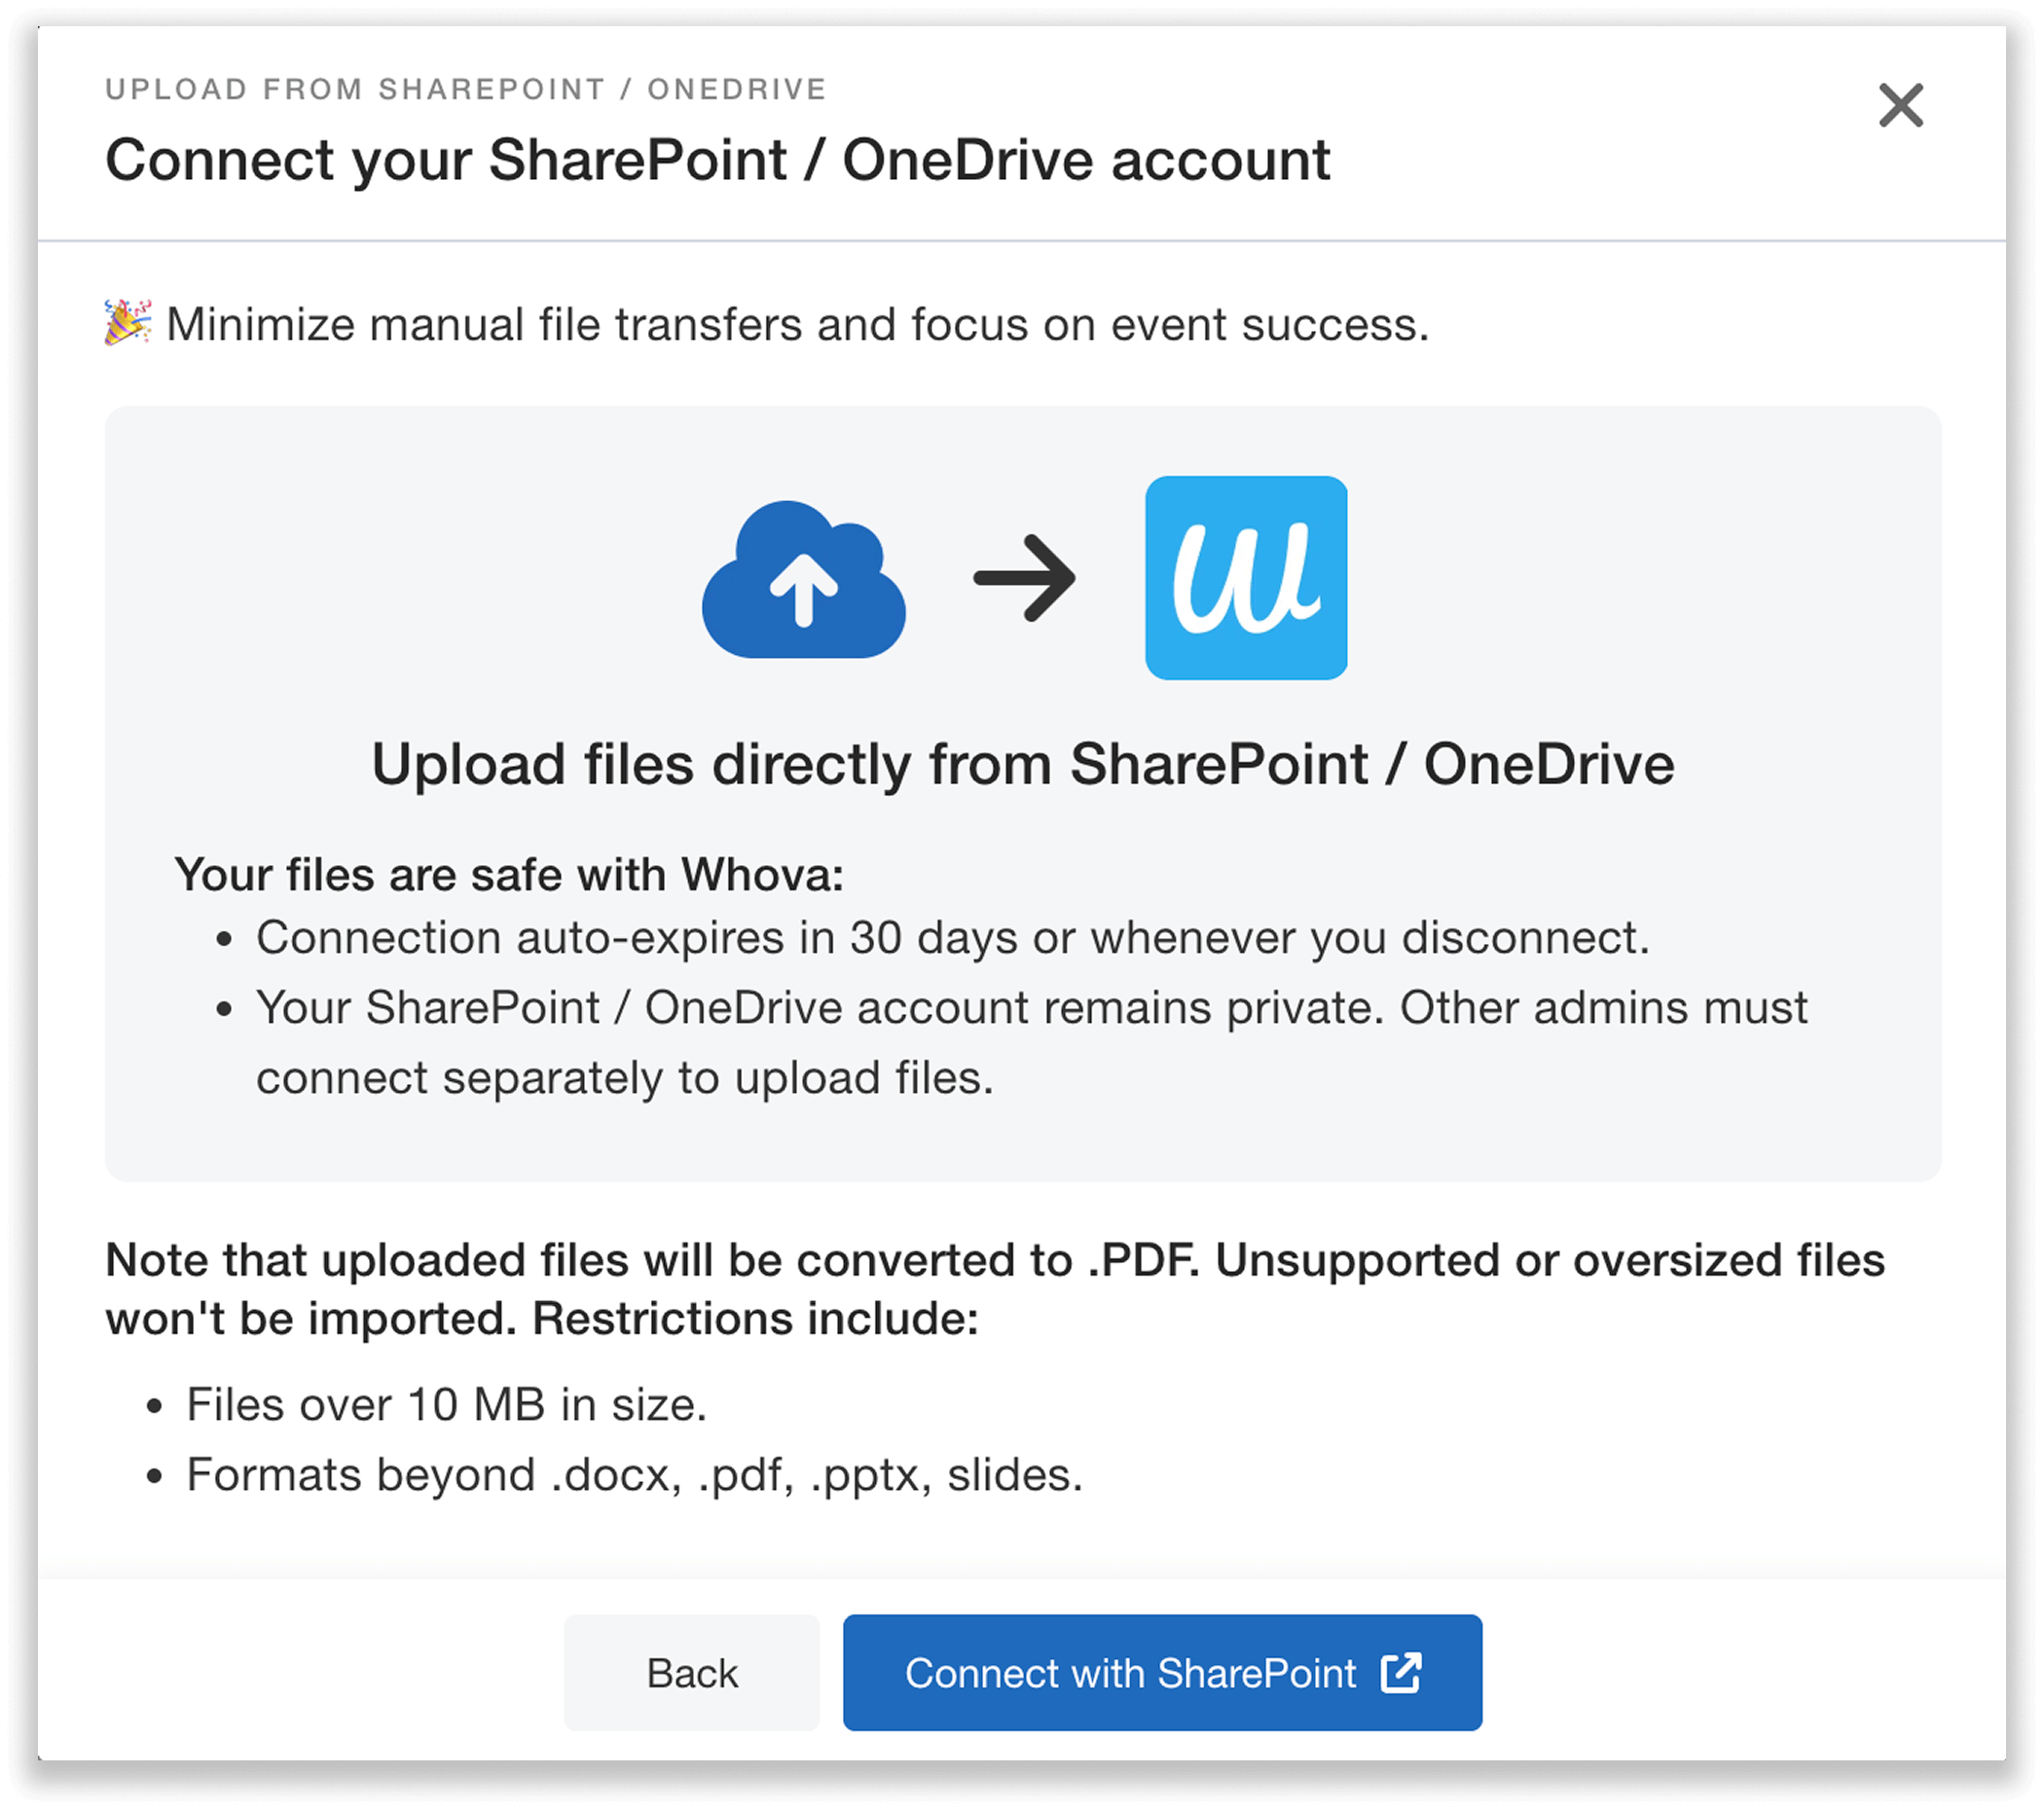
Connect your SharePoint / OneDrive account to upload files seamlessly.
Once connected, you can click “Upload from SharePoint / OneDrive” to select a document. Then, give your file a title and description, and upload it to the session.
The best part? Sync once, and your drive stays connected. You can easily add documents to other sessions without reconnecting.
Note: your files are safe with Whova, and your connection is private and secure. Other admins must connect separately if they want to upload files.
Connecting with OneDrive
Click OneDrive to connect your OneDrive account. The process is the same: sign in (here you use your personal log-in credentials), and grant Whova permission to access the information. Then, click “Upload from OneDrive,” select your documents, add titles and descriptions, and upload them to your sessions.
Whether uploaded from SharePoint or OneDrive, attendees can access these documents in the mobile and web apps, in the “Documents” page on the home tab, or in the Agenda tab under each session’s details.
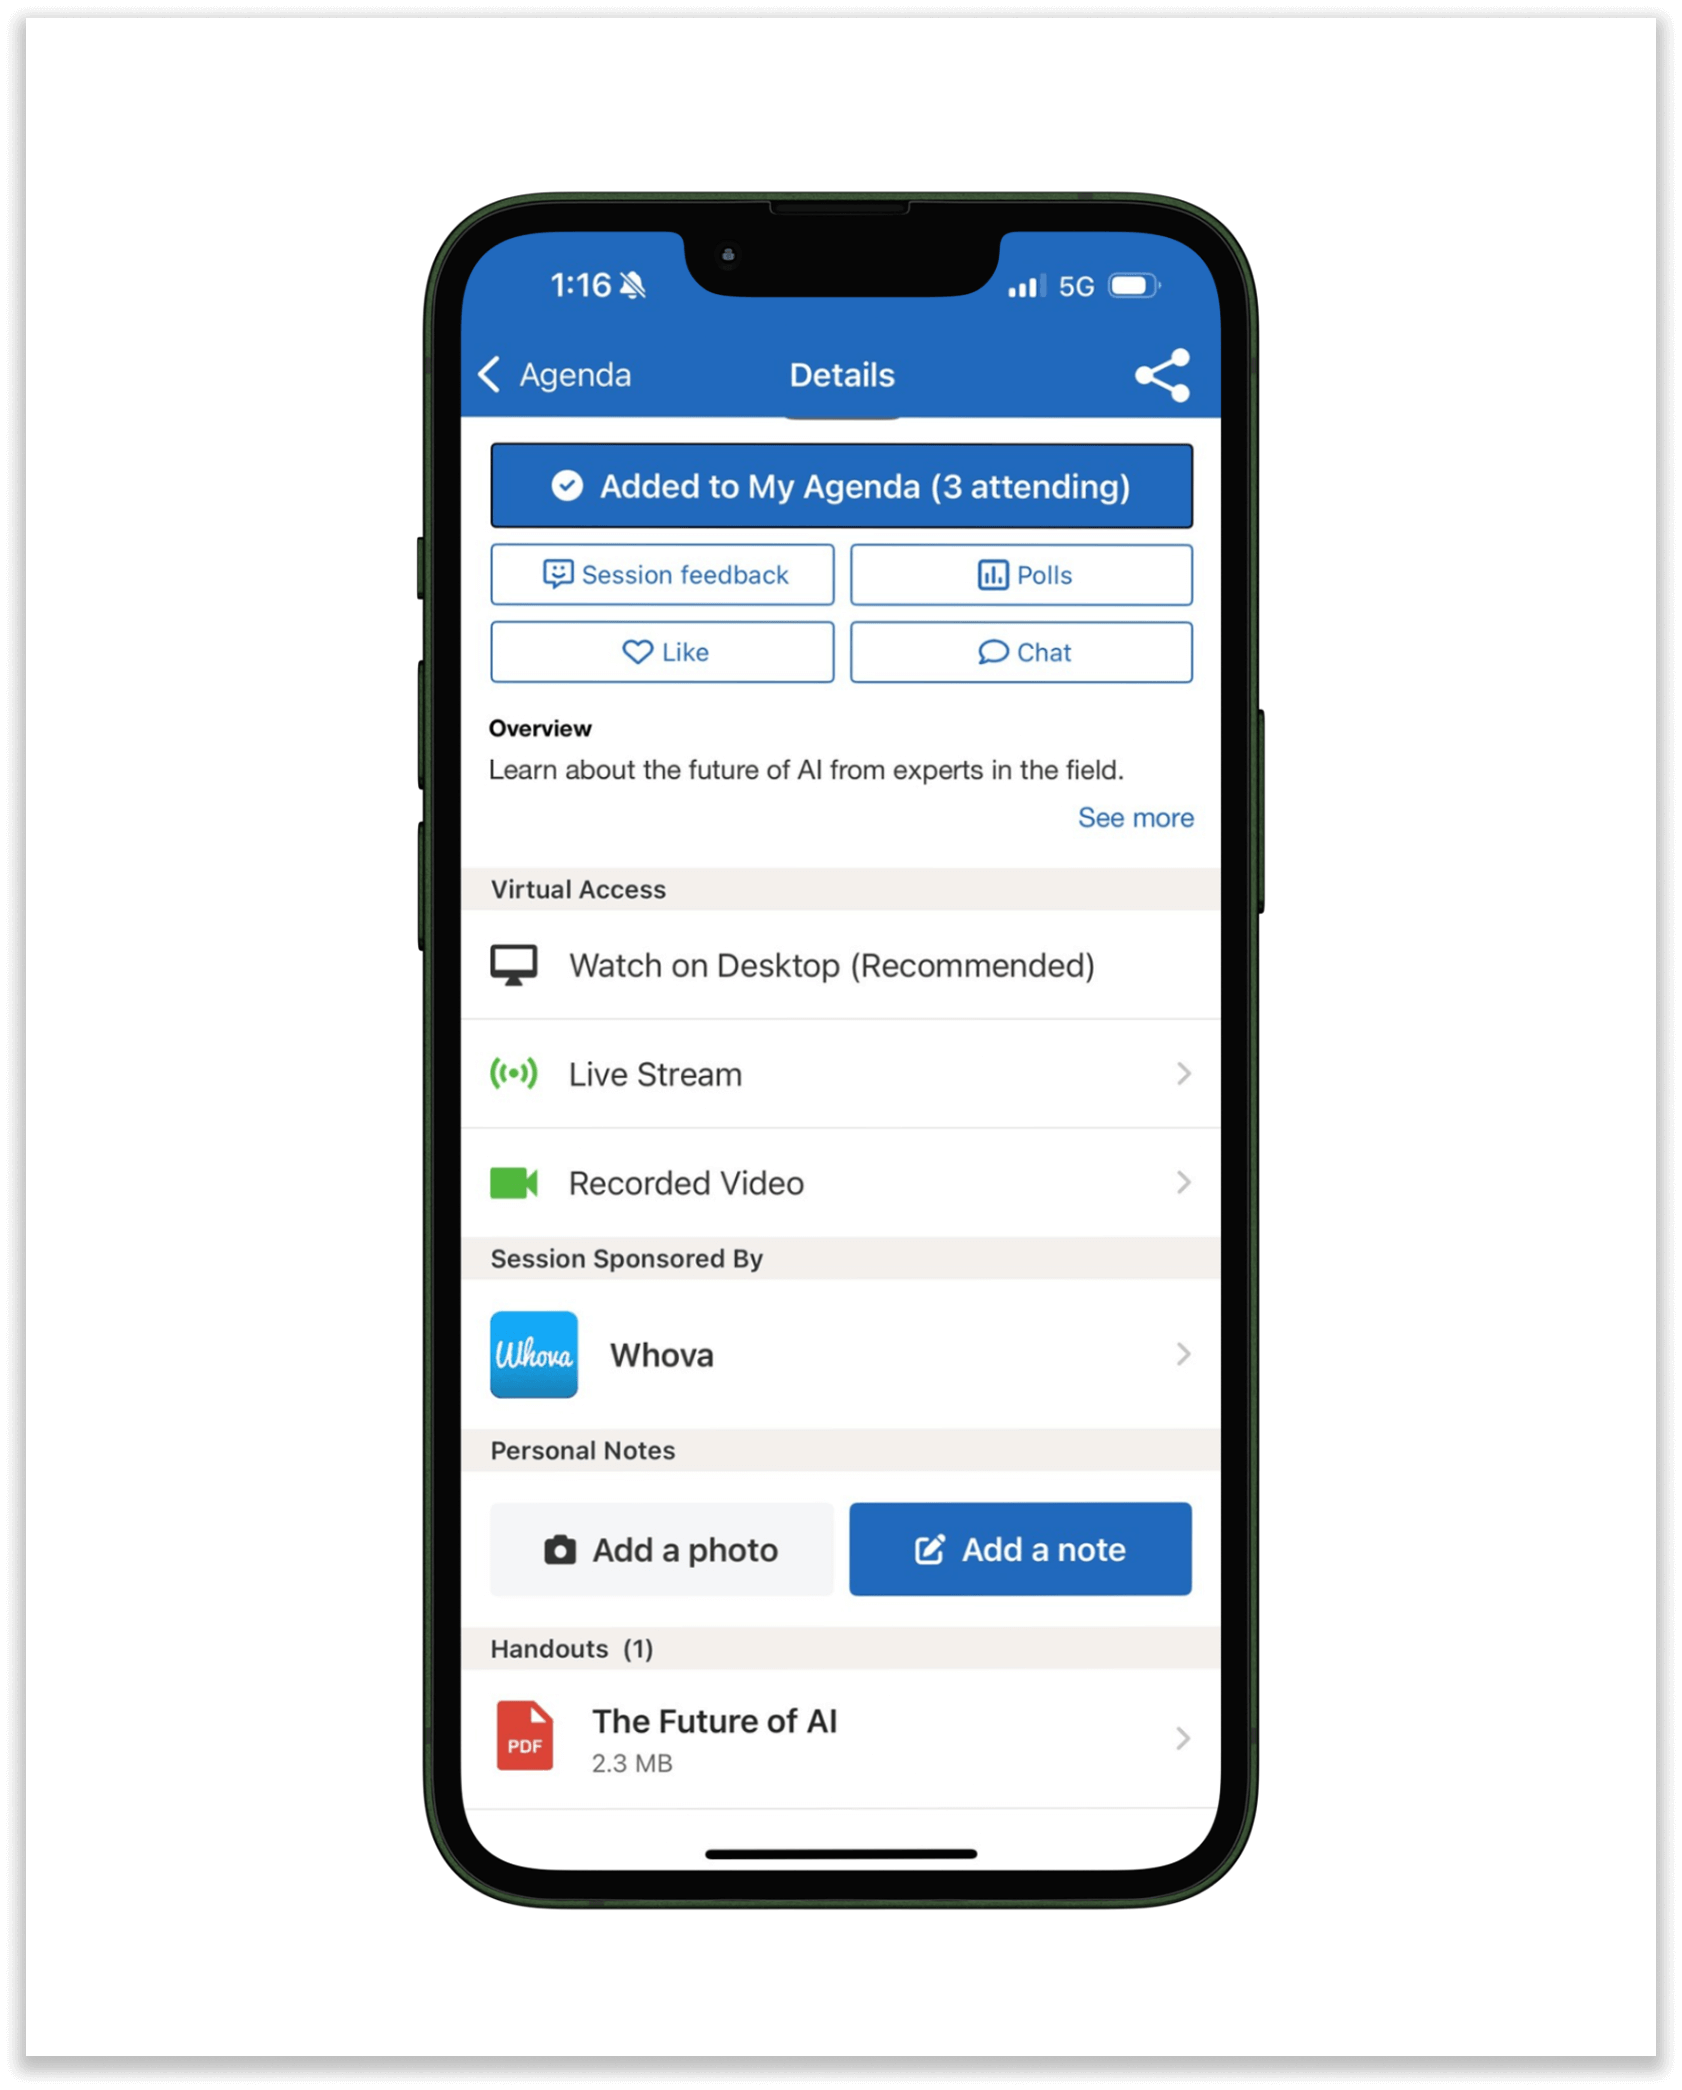
On the mobile app, the “Handouts” section of each session displays the files you’ve uploaded.
Uploading Event Documents, or Uploading Multiple Files?
If you need to upload a general event document that isn’t tied to any specific session—or, if you simply want to upload multiple files at once (some linked to sessions, some not)—Whova makes it easy.
Go to “Documents” under “Documents and Videos” in the Content tab, select “Upload from Cloud,” and choose SharePoint or OneDrive.
If you’ve already connected through Session Manager, you won’t need to reconnect.
You can follow the same process as above, but this time with the ability to upload multiple documents at once. Choose your desired files, give them titles and descriptions, and quickly assign each document to its corresponding session. This makes your workflow even more efficient, further streamlining your file upload.
And if your documents aren’t tied to a specific session, you don’t have to assign them to one! For documents that do belong to specific sessions, you can easily assign them right from this page—no need to go to the “Agenda Center.”
Attendees can access all files in the “Additional Resources” section of the “Home” tab on the mobile app, and in the “Resource” section on the web app’s left side menu, whether they are handouts for sessions in the Agenda or not.
Disconnecting Your SharePoint and OneDrive Accounts
The “Documents” section of the Content tab makes it easy to disconnect. If connected to SharePoint and/or OneDrive, you’ll see those connections here. You can click the disconnect button at any time.
You can disconnect right after uploading, or wait for your connection to expire automatically after 30 days.
Disconnecting won’t affect your uploaded files. All documents will remain in Whova—only the connection is removed.
Streamline Your Event Document Management with Whova
SharePoint and OneDrive users, your document workflow just got a whole lot easier. Connect once and upload all your documents directly – no more wasting time downloading files to your computer just to re-upload them. In a couple clicks, your attendees get the exact files they need, and you get back to planning an amazing event instead of spending time bouncing between platforms.
Ready to see what else you can automate? Request a free demo to explore our award-winning platform.